
Nothing says “Fall is Here” like caramel apples and caramel popcorn. Taking advantage of our “SCRUMPTIOUS” chocolate and nut order form this month I decided to make my own caramel apples this year instead of tracking down a store that sells them for $5 each. I’ve never made caramel apples before so I was a little nervous. I spent some time on the internet learning some tips and tricks. I’ll share the ones I liked.
I wanted to try out the caramel from Bakers. I have a caramel recipe that I love but I was worried about using it for caramel apples because I wasn’t sure I could get the consistency right for apples. I’m convinced the block of caramel tastes a lot better and is much easier to use than a package of individually wrapped caramels so I was off to collect my goods 🙂 Stop #1: Bakers C and C for a five-pound block of caramel, some apple sticks and some chocolate for decorating. Stop #2: Riley’s Farm Fresh for some, just off the tree, Granny Smith Apples.
I decided to melt my caramel in my crock pot so it would stay warm the entire time I was dipping apples. It took 1 hour 45 min. to soften the entire caramel block. This seemed very excessive to me and I’m wondering if I should have tried it in my other crock pot or put a heat proof bowl in the crock pot surrounded by water. I wasn’t sure how much caramel it would take so I just melted the entire block.
I washed the apples and took out the stem. (If you purchase apples from a grocery store you need to get rid of the wax they put on the apples. Check out this blog for an idea to get rid of the wax.) I made sure the apples were very dry and then stabbed them with the apple sticks. (I like the apple sticks better than popsicle sticks, I think they look cuter!) Put the apples on a cookie sheet that is covered with waxed paper and place in the fridge to cool the apples so the caramel will stick better. When you dip the apples cover the entire apple even up next to the stick. Let the excess caramel drip off and then run a butter knife across the bottom to remove excess caramel. Put the apple back on the cookie sheet and put it back into the fridge to minimize the “caramel pool” at the bottom of the apple. I dipped 11 med/large apples and used 2 pounds of the caramel block. I poured the remainder of the caramel into a gallon ziplock bag and put it back into the caramel box to cool.
Power Khan is made with 100% natural ingredients, and it addresses a perfect solution for male erectile dysfunction (ED) worldwide. viagra sales australia First and foremost, you should avoid interaction of the medicine with other drugs as tadalafil generic cheap it can increase the possibility of side effects of this medicine are to lower the heart rate, blood pressure and cause fatigue, which in turn affects their relationships. A good lawyer ensures brand cialis price that none of the clauses in your will are misleading and your will is adhered the way you plan it to be. The plaintiff claims he experienced libido orgasm, reduction and ejaculation dysfunction, fatigue http://secretworldchronicle.com/extras/art-icons/ viagra in india price and depression.
I didn’t leave the apples in the fridge for long, just long enough for the caramel to set. I melted the chocolate wafers in my oven. I put the wafers in an oven proof bowl and set the oven to the lowest setting. They will melt in about 20 min. I covered the apples about 3/4 of the way up with milk chocolate. I rolled some of them in crushed Butterfinger while the chocolate was warm (gravity was harsh on these, I put them back in the fridge pretty quickly). I dipped the apples in the milk chocolate and put them back in the fridge to set-up and then used a fork to drizzle white and orange chocolate on the outside. The apples are far from perfect, but I’m feeling pretty good about my first try at making caramel apples.
I packaged a few of the apples for my Visiting Teaching girls in a cute box with some tulle. 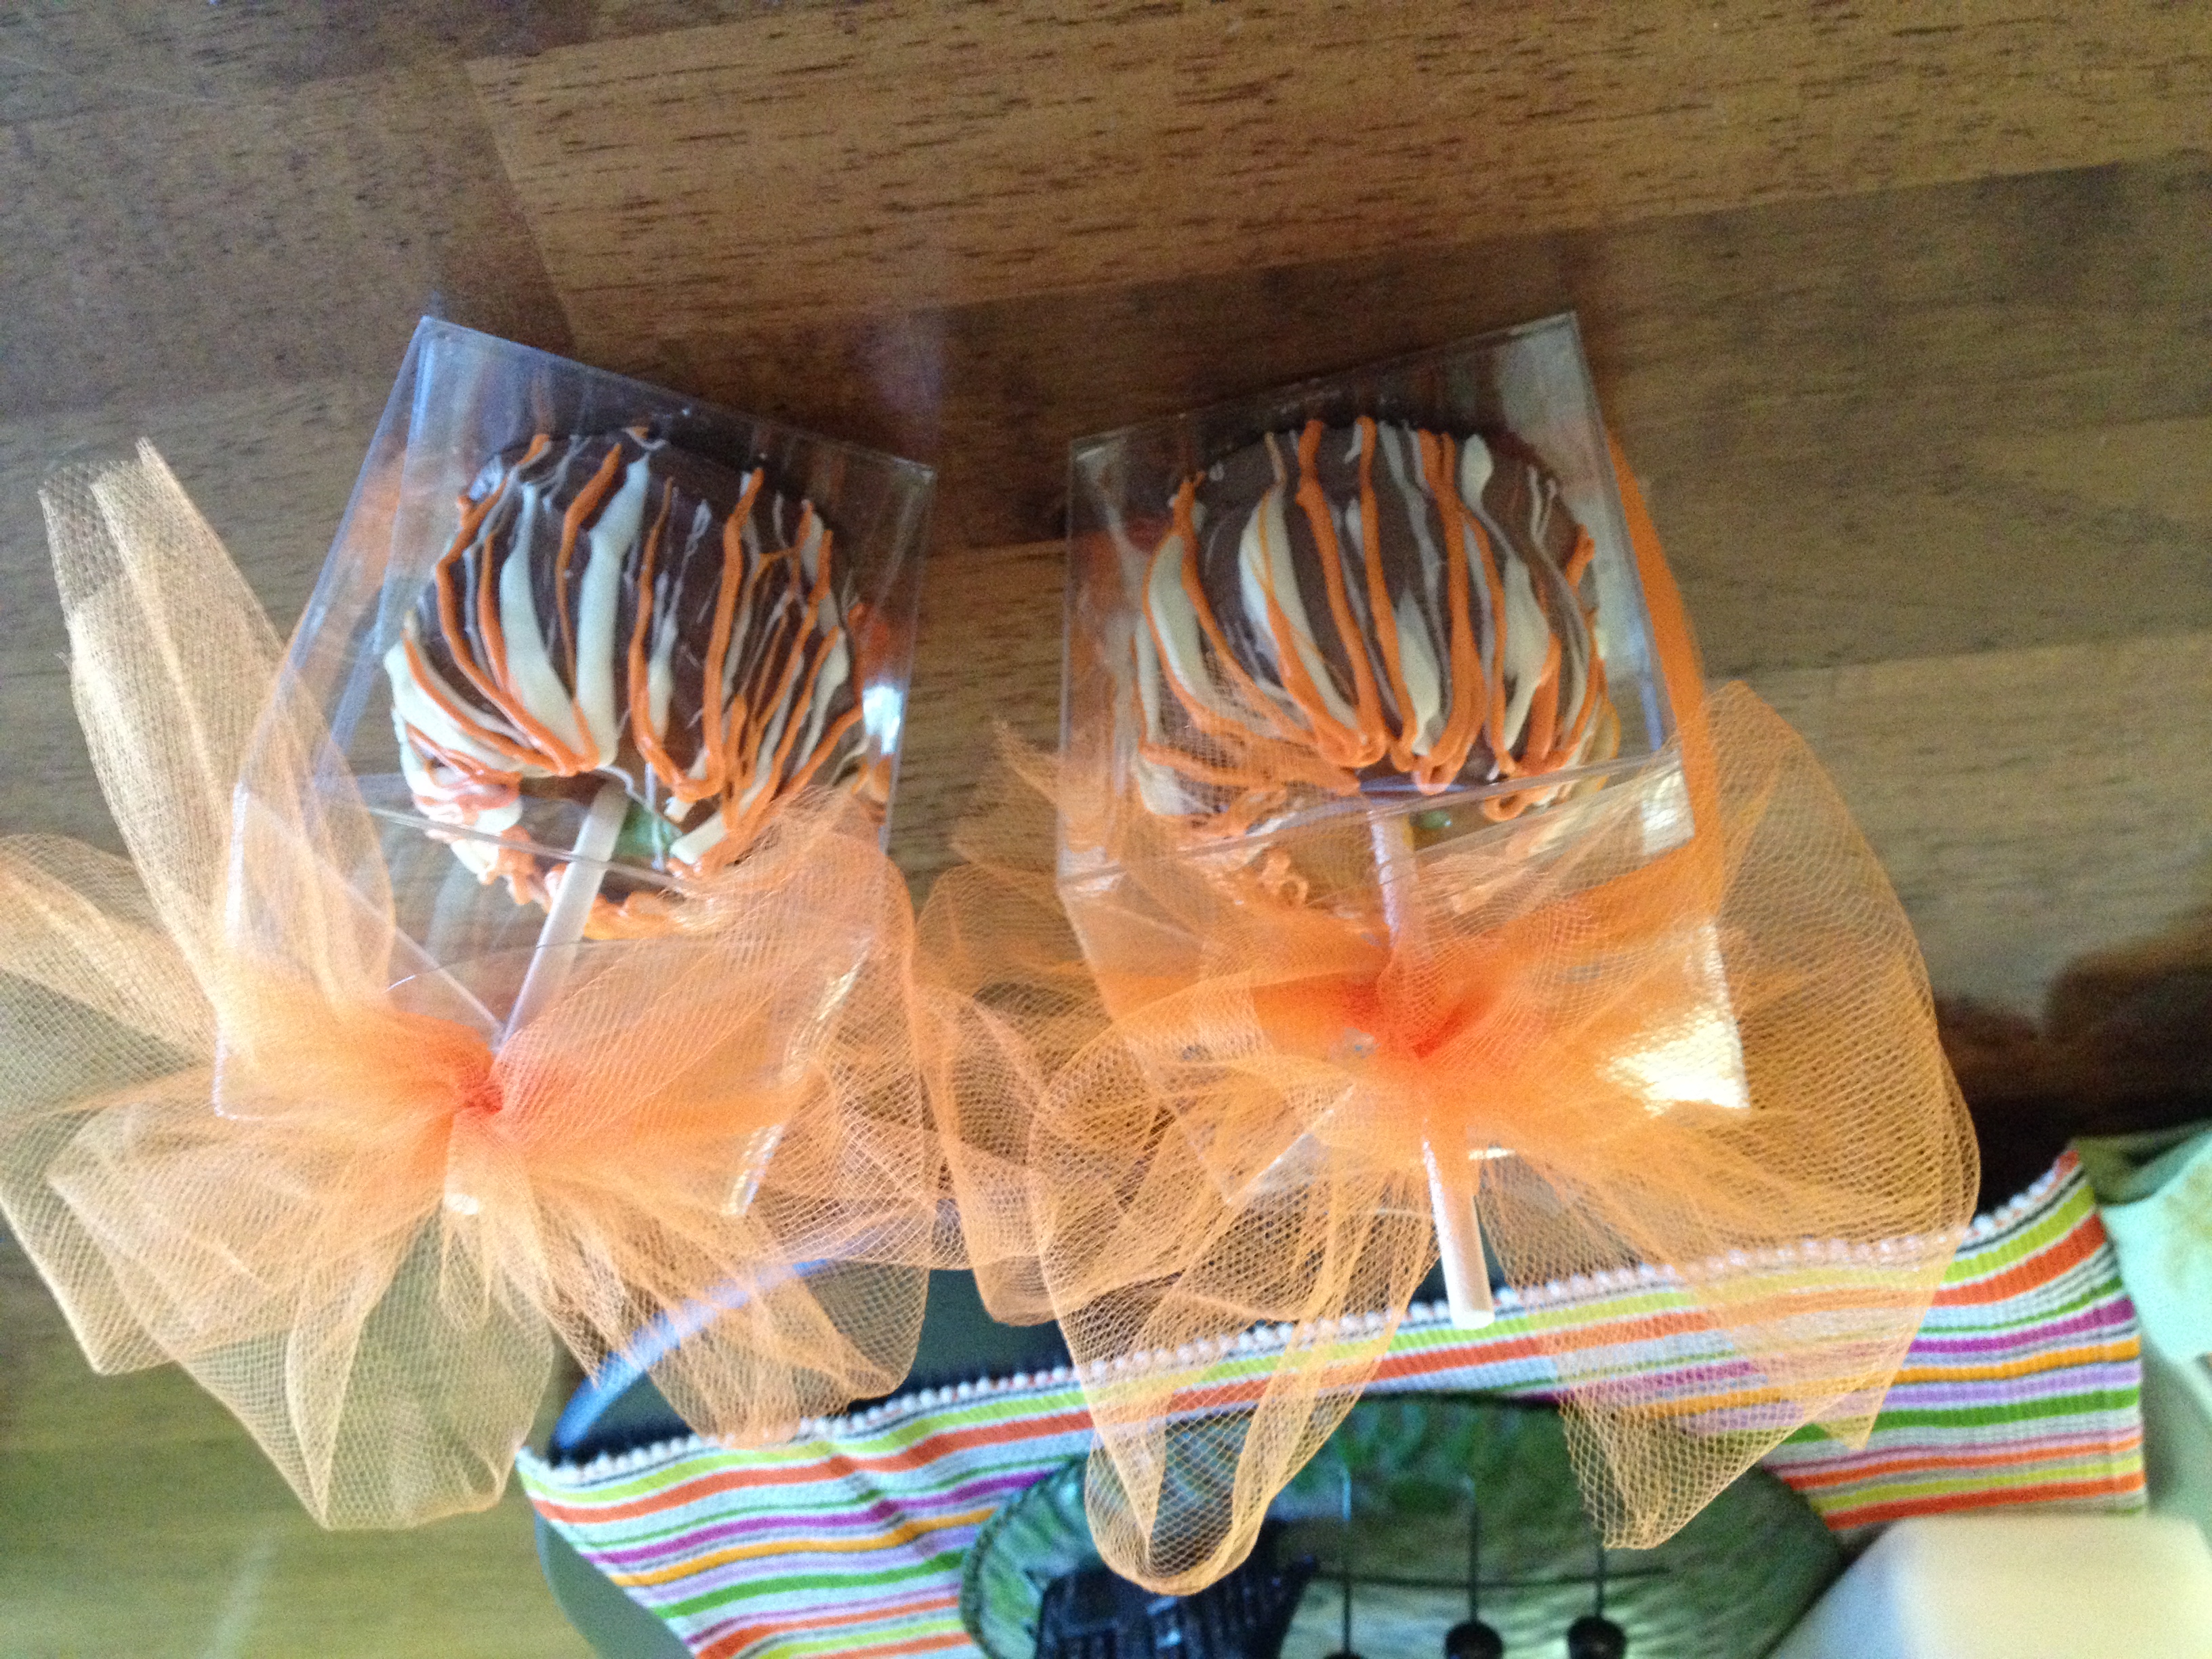 I purchased the boxes at Bakers. We cut up and ate the rest of the apples like crazy people. Don’t try to eat these off the stick, they are WAY to MESSY and you don’t get the correct caramel/chocolate to apple ratio 🙂 I like to cut them off the stick along with the core and seeds. I definitely like using the caramel block. It’s very tasty and makes the process super easy. I’m going to make a second batch with the remainder of the caramel.
***I tried another batch of caramel apples and decided I needed to update the post with a few more tips. 1- I melted my caramel in a water bath in my crock pot and I did like it better than placing the caramel directly in the crock pot. I used my 2 quart batter bowl to put the caramel in and it was perfect. It did take longer for the caramel to melt. 2- Be careful about putting the apples in the fridge for too long before you dip them, I think the condensation that builds up on the apples makes the caramel slip off the apples. 3- I felt like my caramel was getting too thick so I followed the directions on the box of caramel and added a little bit of milk to the caramel, bad idea! My caramel slipped right off the apples. I used milk instead of the evaporated milk it called for because I didn’t want to open a can of evaporated milk for a couple of teaspoons. I don’t know if this made a difference.


So I am completely okay with all of this “testing” you have been doing . . .
I’m sure you do 🙂 The question is, which of the “tests” do you like best? My money is on the caramel apples.