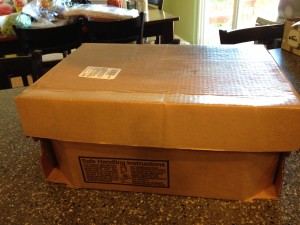
When I saw the Reams add this week I knew what I would be doing today. They put their 40 pound box of chicken on sale for $62. That’s $1.55 per pound for boneless, skinless, chicken breasts. That’s about .55 cheaper per pound than I usually pay at Sam’s Club. I pressure canned chicken last year but I’m still a “newby” so I had to re-learn how to pressure-can it again. I took some good notes so hopefully some of them will come in handy for you if you decide to try your hand at canning chicken. Try it, you won’t be sorry!!! I love it for quick meals like chicken enchiladas and Hawaiian haystacks.
**** I wrote this last Tuesday (10/22), if you want to take advantage of the Reams sale you need to do it today (10/28). Their ads run from Tue. morning to Mon. night.
Sheri’s Tips:
- If you are planning on canning the entire 40 pounds of chicken, you will end up with 39 wide mouth pints (about 1 pound of chicken per pint) – put these in the dishwasher to clean/sterilize them first thing in the morning. Then head to Reams to get your chicken and any canning lids etc. that you need. The only other ingredient you will need is salt.
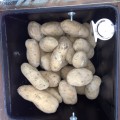
- Come home and start your project, if your fridge looks anything like mine, that box isn’t even coming close to making it in the fridge
 so find a great CD (make it a long one
  ) and put on your comfy slippers and get to work! It took me about three hours to clean all the fat / yucky stuff off my chicken and cut it into squares.
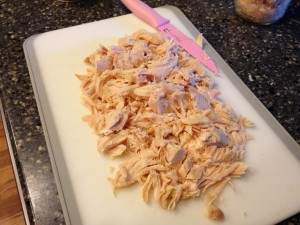
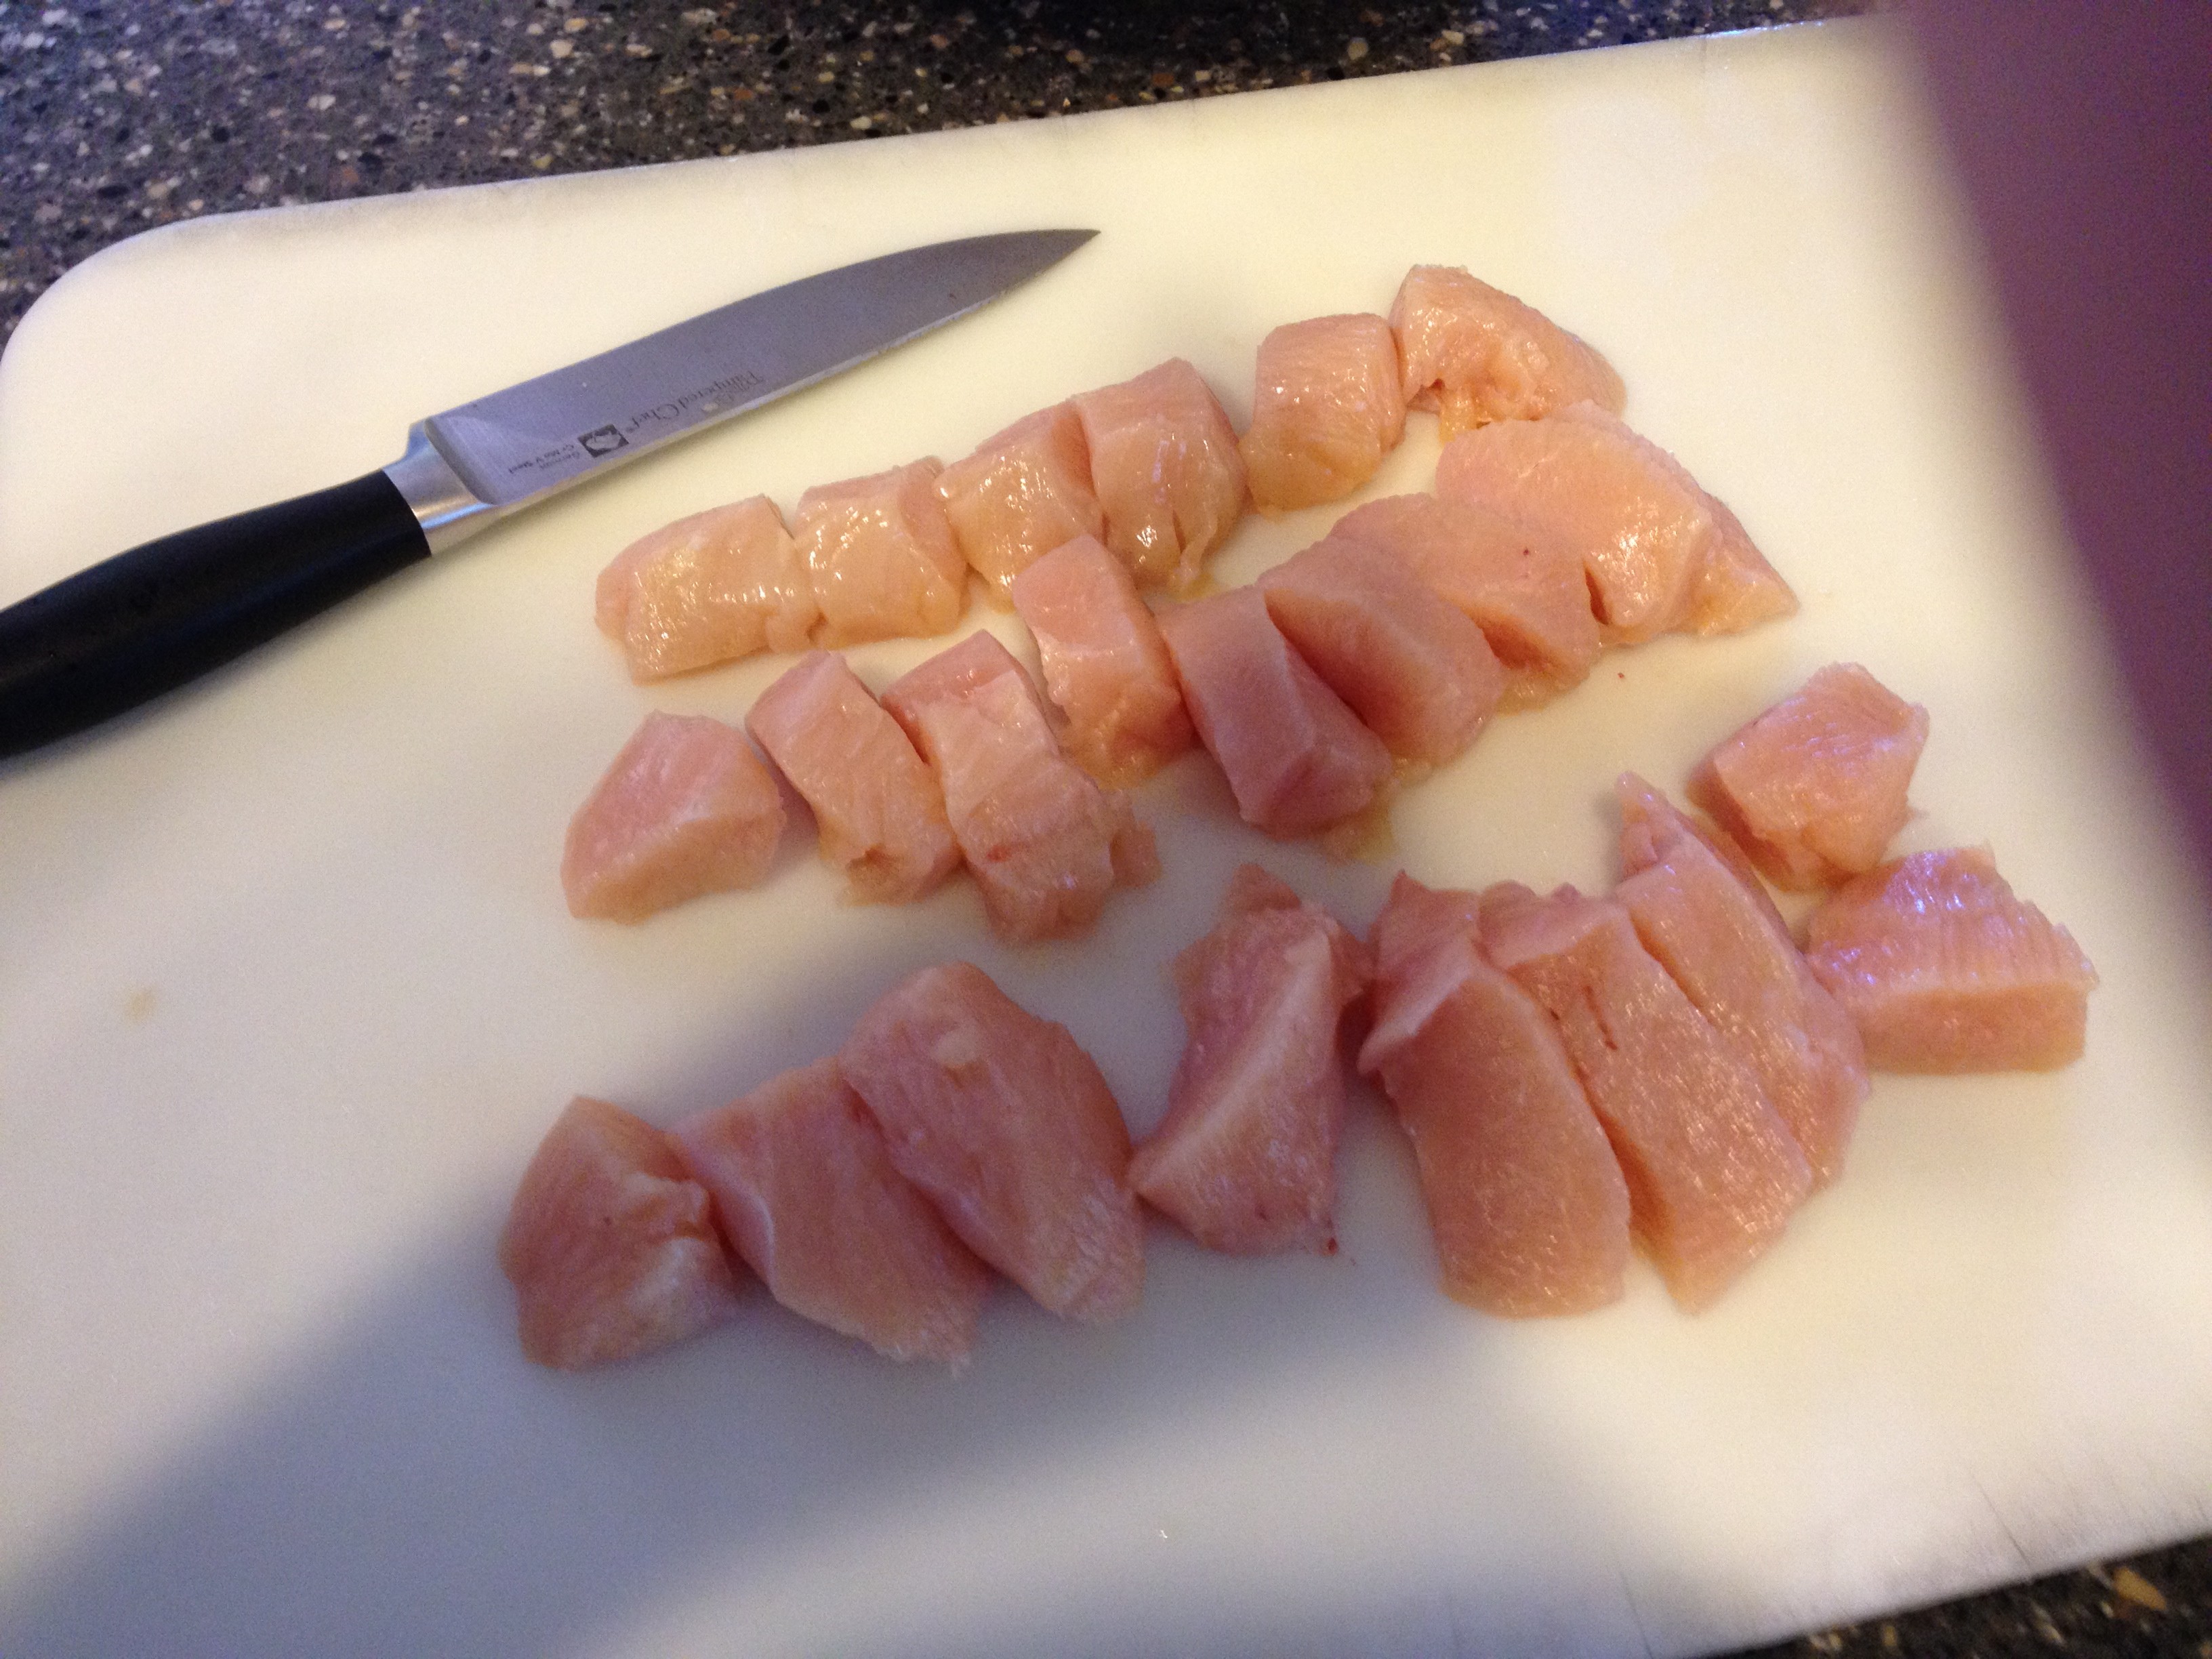
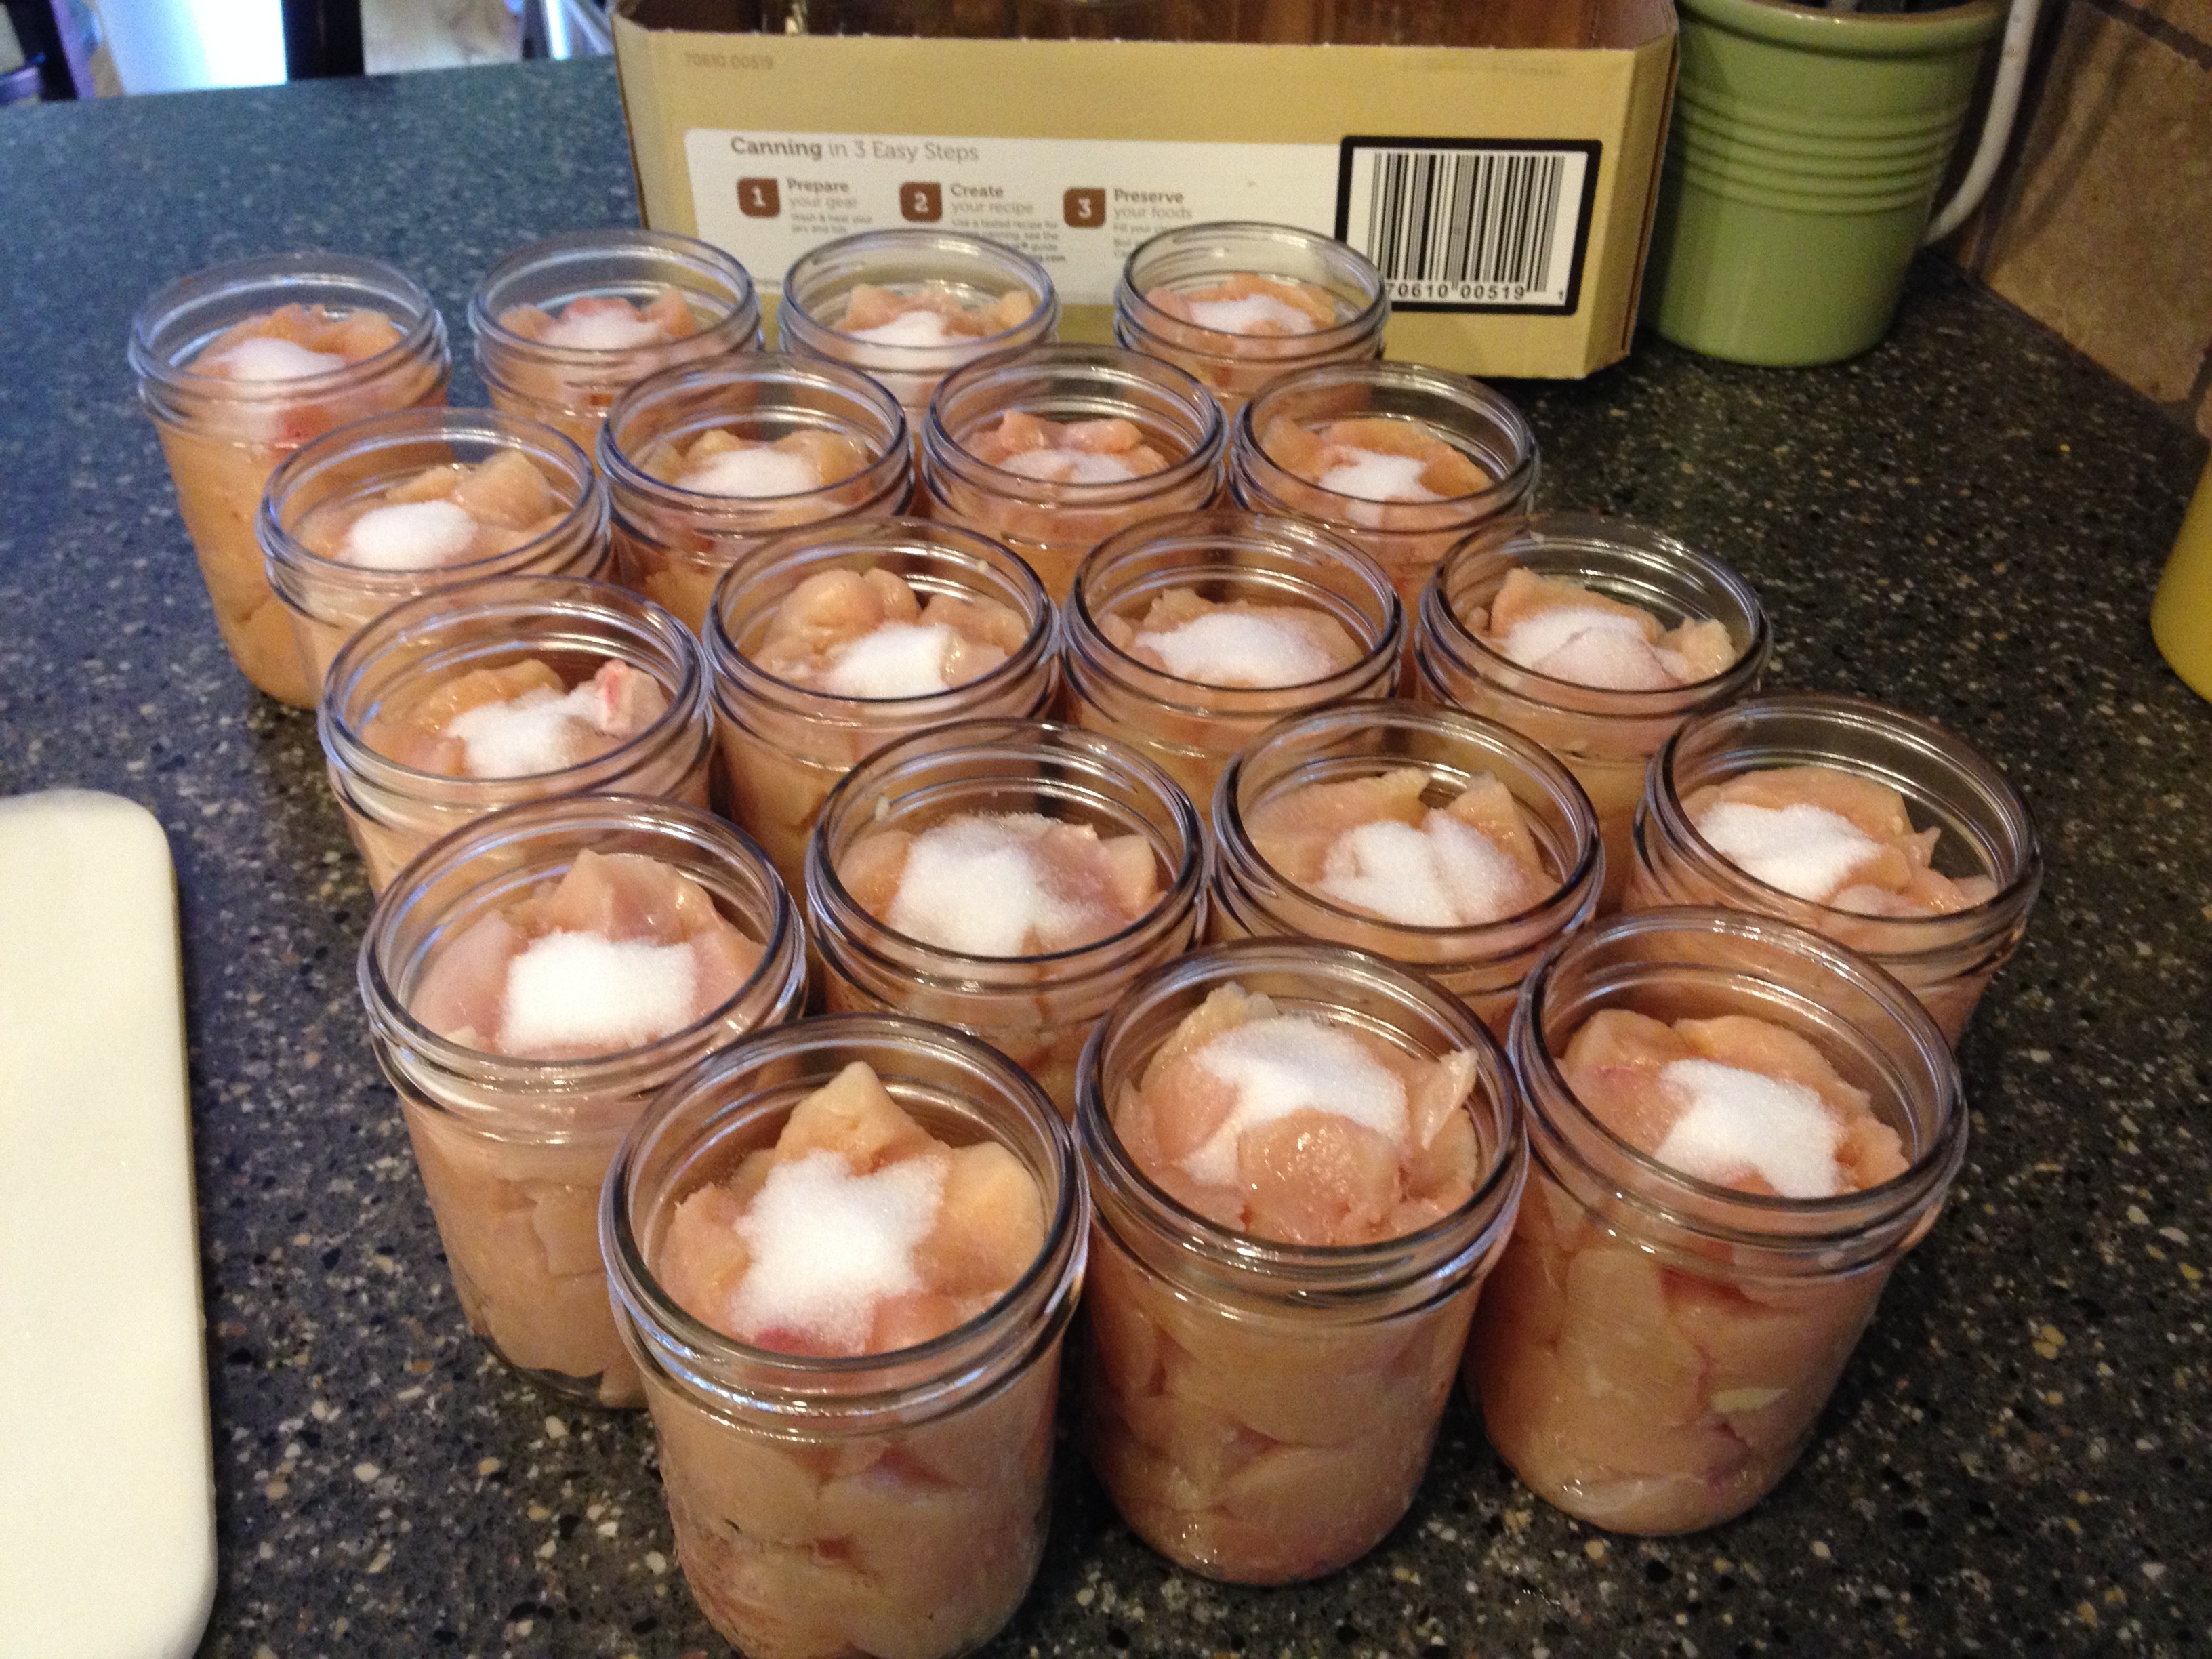
  You don’t need to be precise on how you cut up your chicken, it all ends up in kind of a big blob anyway and you just kind of shred it when you get ready to eat it. So don’t spend lots of time trying to get them into the perfect pieces, the key is to get the pieces to fit into your jars easily w/out a lot of wasted space, I know some people just stuff an entire breast in whole. I pretty much just packed my sterilized jars as full as I could, leaving 1 in. head space. I am using the “Raw Pack method” meaning you don’t cook the chicken before you put it in your jars. You can run a knife along the sides of the jar to get the air bubbles out or you can just smoosh the chicken in tight with your fingers. Add 1 tsp. salt to each pint jar. You don’t add any liquid, the chicken will juice it’s self while it’s canning.
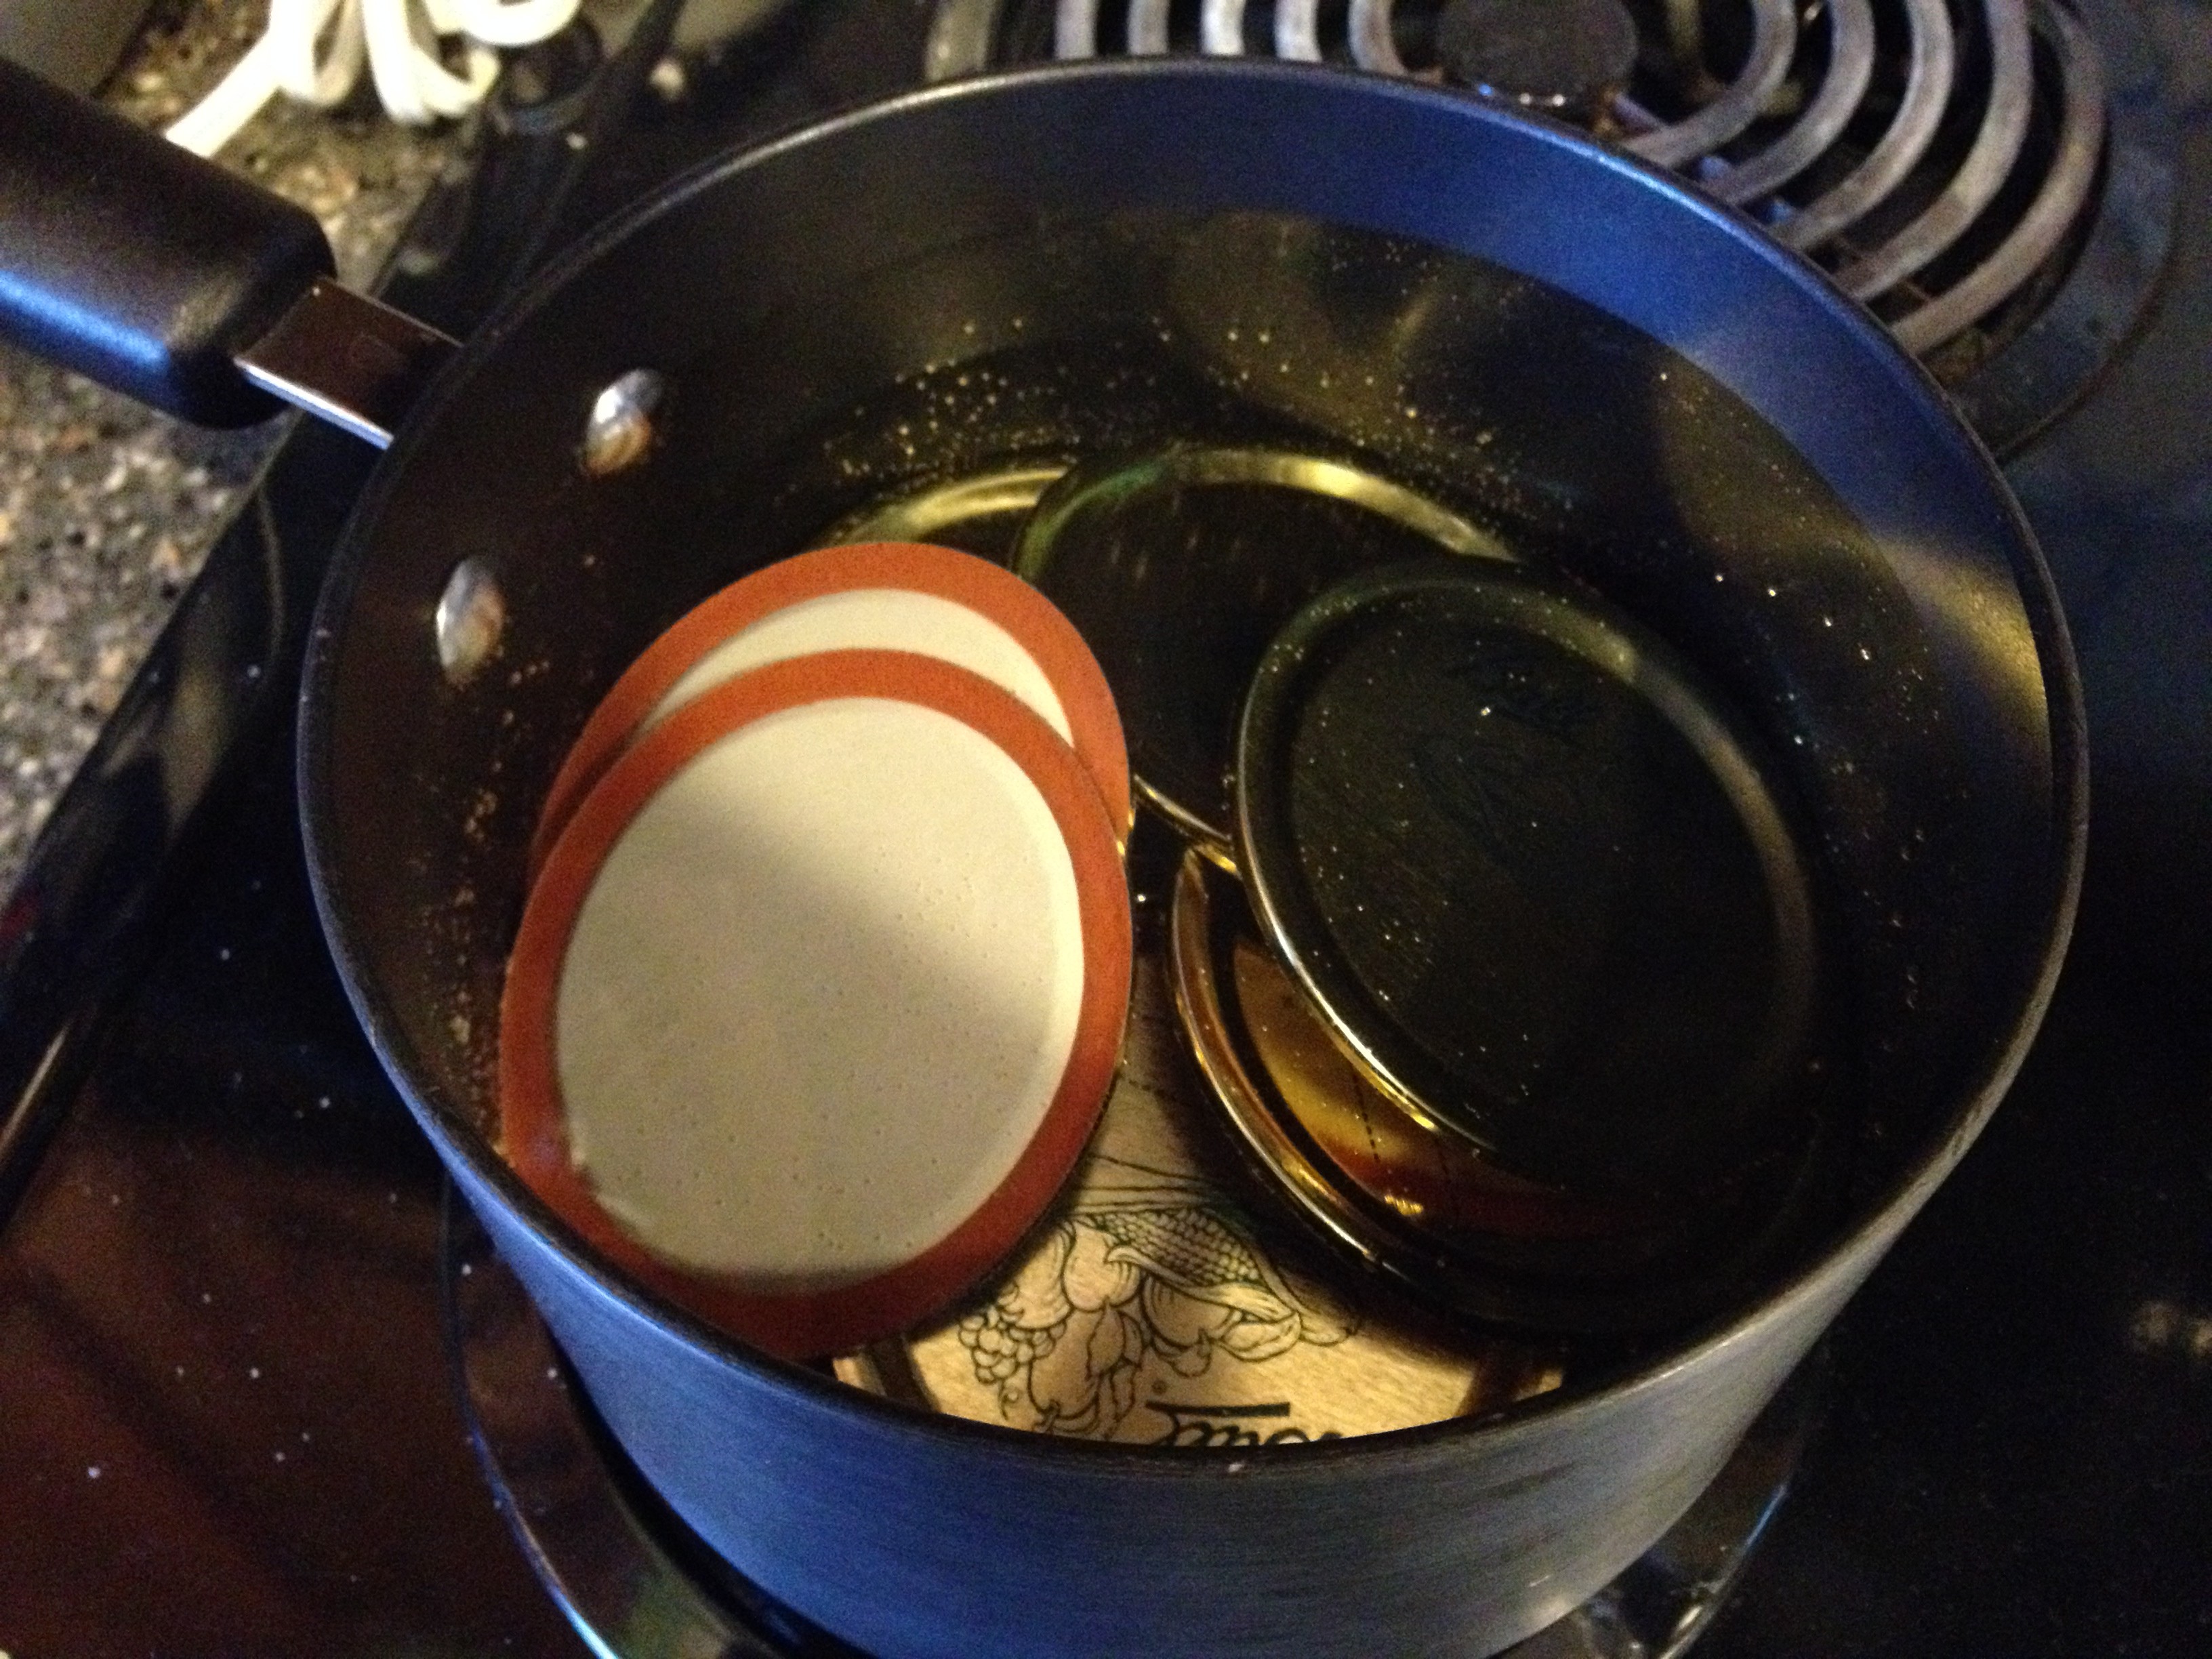
  Wipe the top rim of the full jars to make sure your jar is clean so it will seal well. Add a canning lid and ring. Just tighten the ring with your hands, don’t go crazy here, remember you have to get it off! I always put my canning lids in a pan and let them simmer (not boil) about 20 min. before I want to put them on my jars, the box says “to place the lids in a saucepan; cover with water. Simmer until ready to use”.
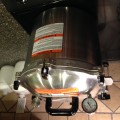
- My pressure canner is the All-American and so the directions I’m giving for canning come from that book as far as the canning goes. I filled the bottom of my canner with 3 quarts of water (that sounds like a lot but it’s only a couple of inches on the bottom of the pan) and I added about 1/4 cup vinegar to the water. The vinegar reduces the buildup of hard water on your bottles. I did one batch with and one batch without and I really wish I would have added vinegar to both batches.
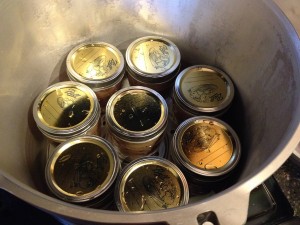 Make sure to put the tray on the bottom of your canner — don’t put jars directly on the bottom of the pan. I was able to fit 8 wide mouth pint jars on the bottom and then I put my next tray on top of my jars and I did another layer of 8 jars. Put your canner lid on and tighten down the screws.
 - I turned the temperature on my stove to high and waited for a steady stream of steam to come out of the vent pipe. Let it steam like that for 7 min. (on the All American) some pressure canners want 10 minutes so read the directions for your canner. After the 7 minutes put on your “pressure regulator.” Along the Wasatch Front you need to put it on 15 pounds for our elevation (4,300 ft). Watch the pressure gauge as it climbs to 15. Kristine suggested in our class to lower the temperature on your stove when the gauge is at about 13 and let the pressure come up more slowly the last two pounds. When your pressure is at 15 pounds the pressure regulator starts to make some noise. This is when you start your time. For pints in Utah (ie, 4,300 ft elevation) you need to process for 75 min. You need to regulate your stove temperature so that the pressure regulator is only “sounding off” about one to four times a minute.
- When the 75 min. is complete turn off your stove and walk away. You don’t touch anything until the pressure gauge is at 0. This takes awhile. You do want to keep your eye on it though. In my instruction manual it says to get the pressure regulator weight off of the canner as soon as the pressure drops to 0 because the longer you leave it on following canning the more vacuum will form, making the lid more difficult to remove. Use a hot pad to remove the regulator, it’s hot. Then remove your lid – carefully and then your bottles. Put your bottles on a towel or cooling rack. Be careful, they are still super hot and you can see the liquid in the bottles still boiling.
- Leave your bottles to cool for 24 hours. Check and make sure they all sealed. Remove the rings and wash off your bottles. The guides say your chicken will store in a cool, dark environment for 1 year.
- This is a project that will take the entire day if you are processing the entire 40 pounds of chicken. Of course most of it is just babysitting the canner while it’s processing but you’re not leaving the house after you start this project unless you have a “sitter” for your canner. It’s a great day to get the laundry done 🙂 After you process your first batch you can start processing your second batch, I had to do 3 batches to do all of the jars. I emptied the water after each batch for three reasons: 1- to make sure I had the correct amount of water in the bottom of my canner 2- to get fresh water, it just looks a little cloudy sometimes 3- to make sure I didn’t break my jars in too hot of water. Your jars are cold because they have raw chicken in them — to put them in super hot water didn’t seem like a super smart idea.
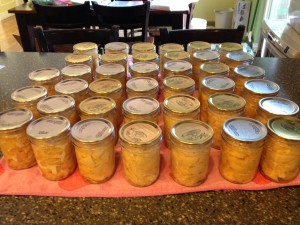
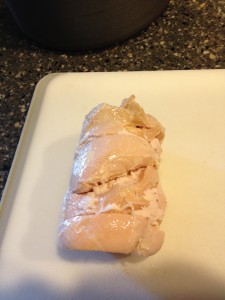
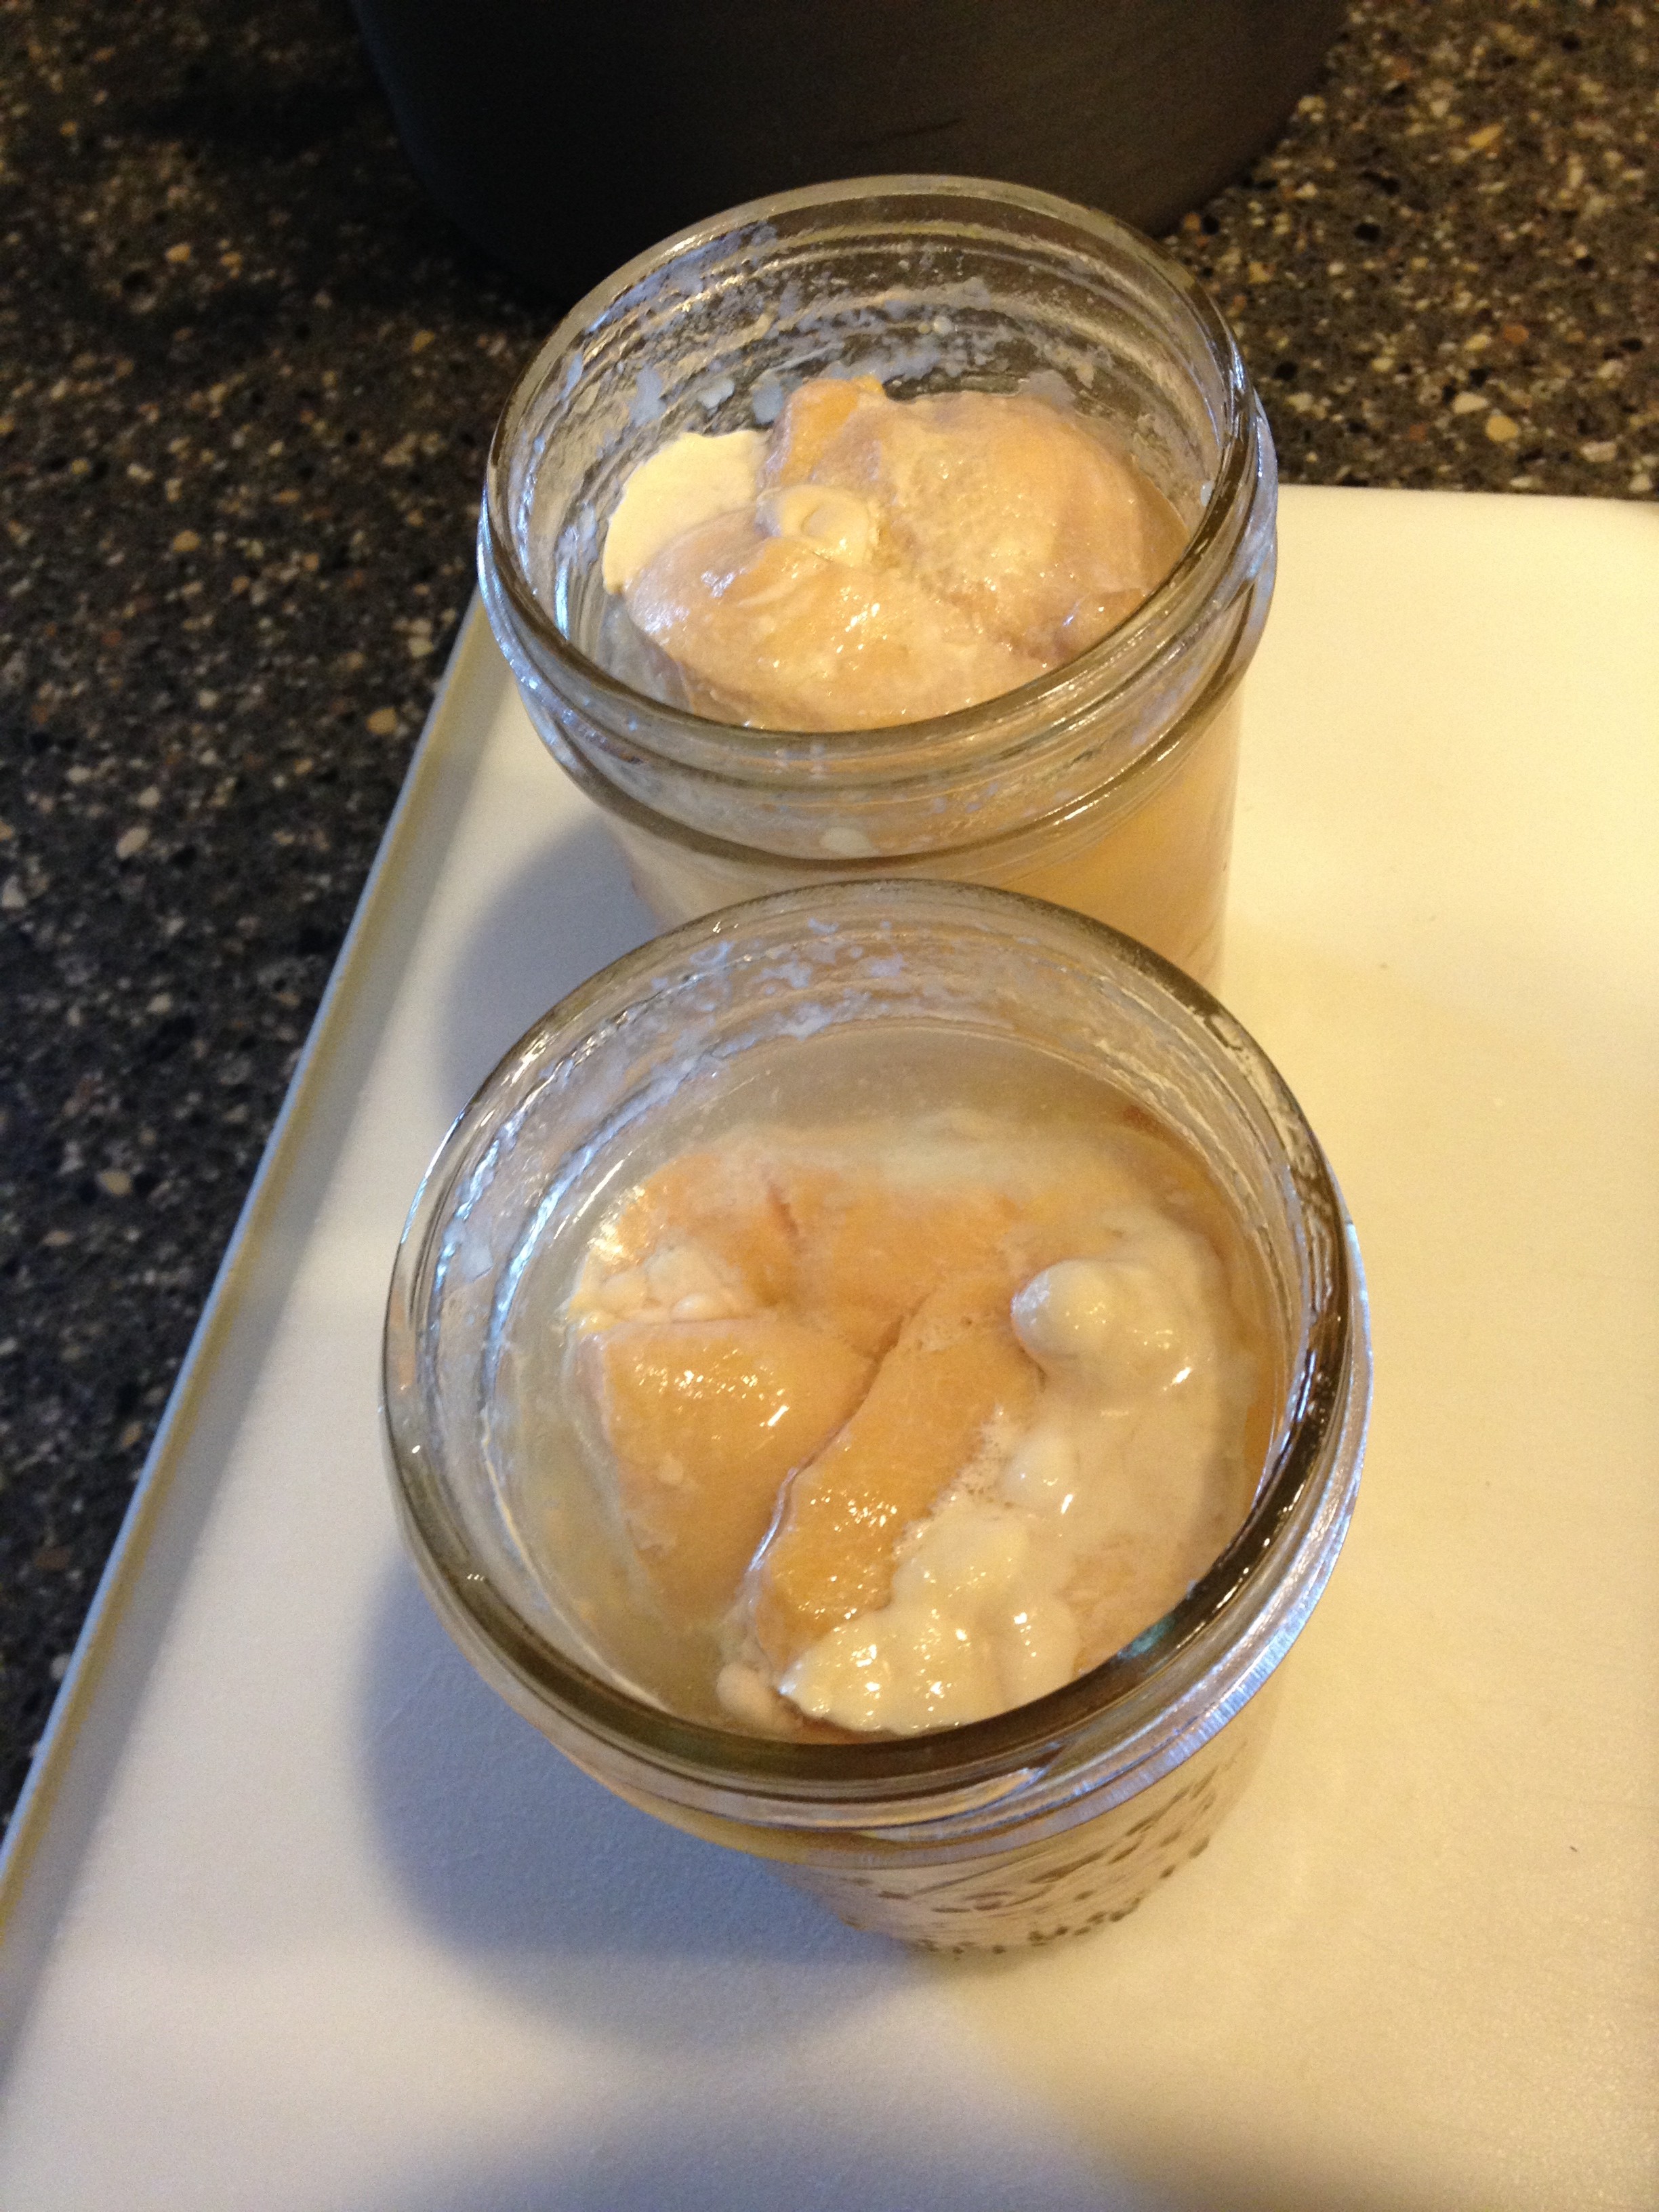
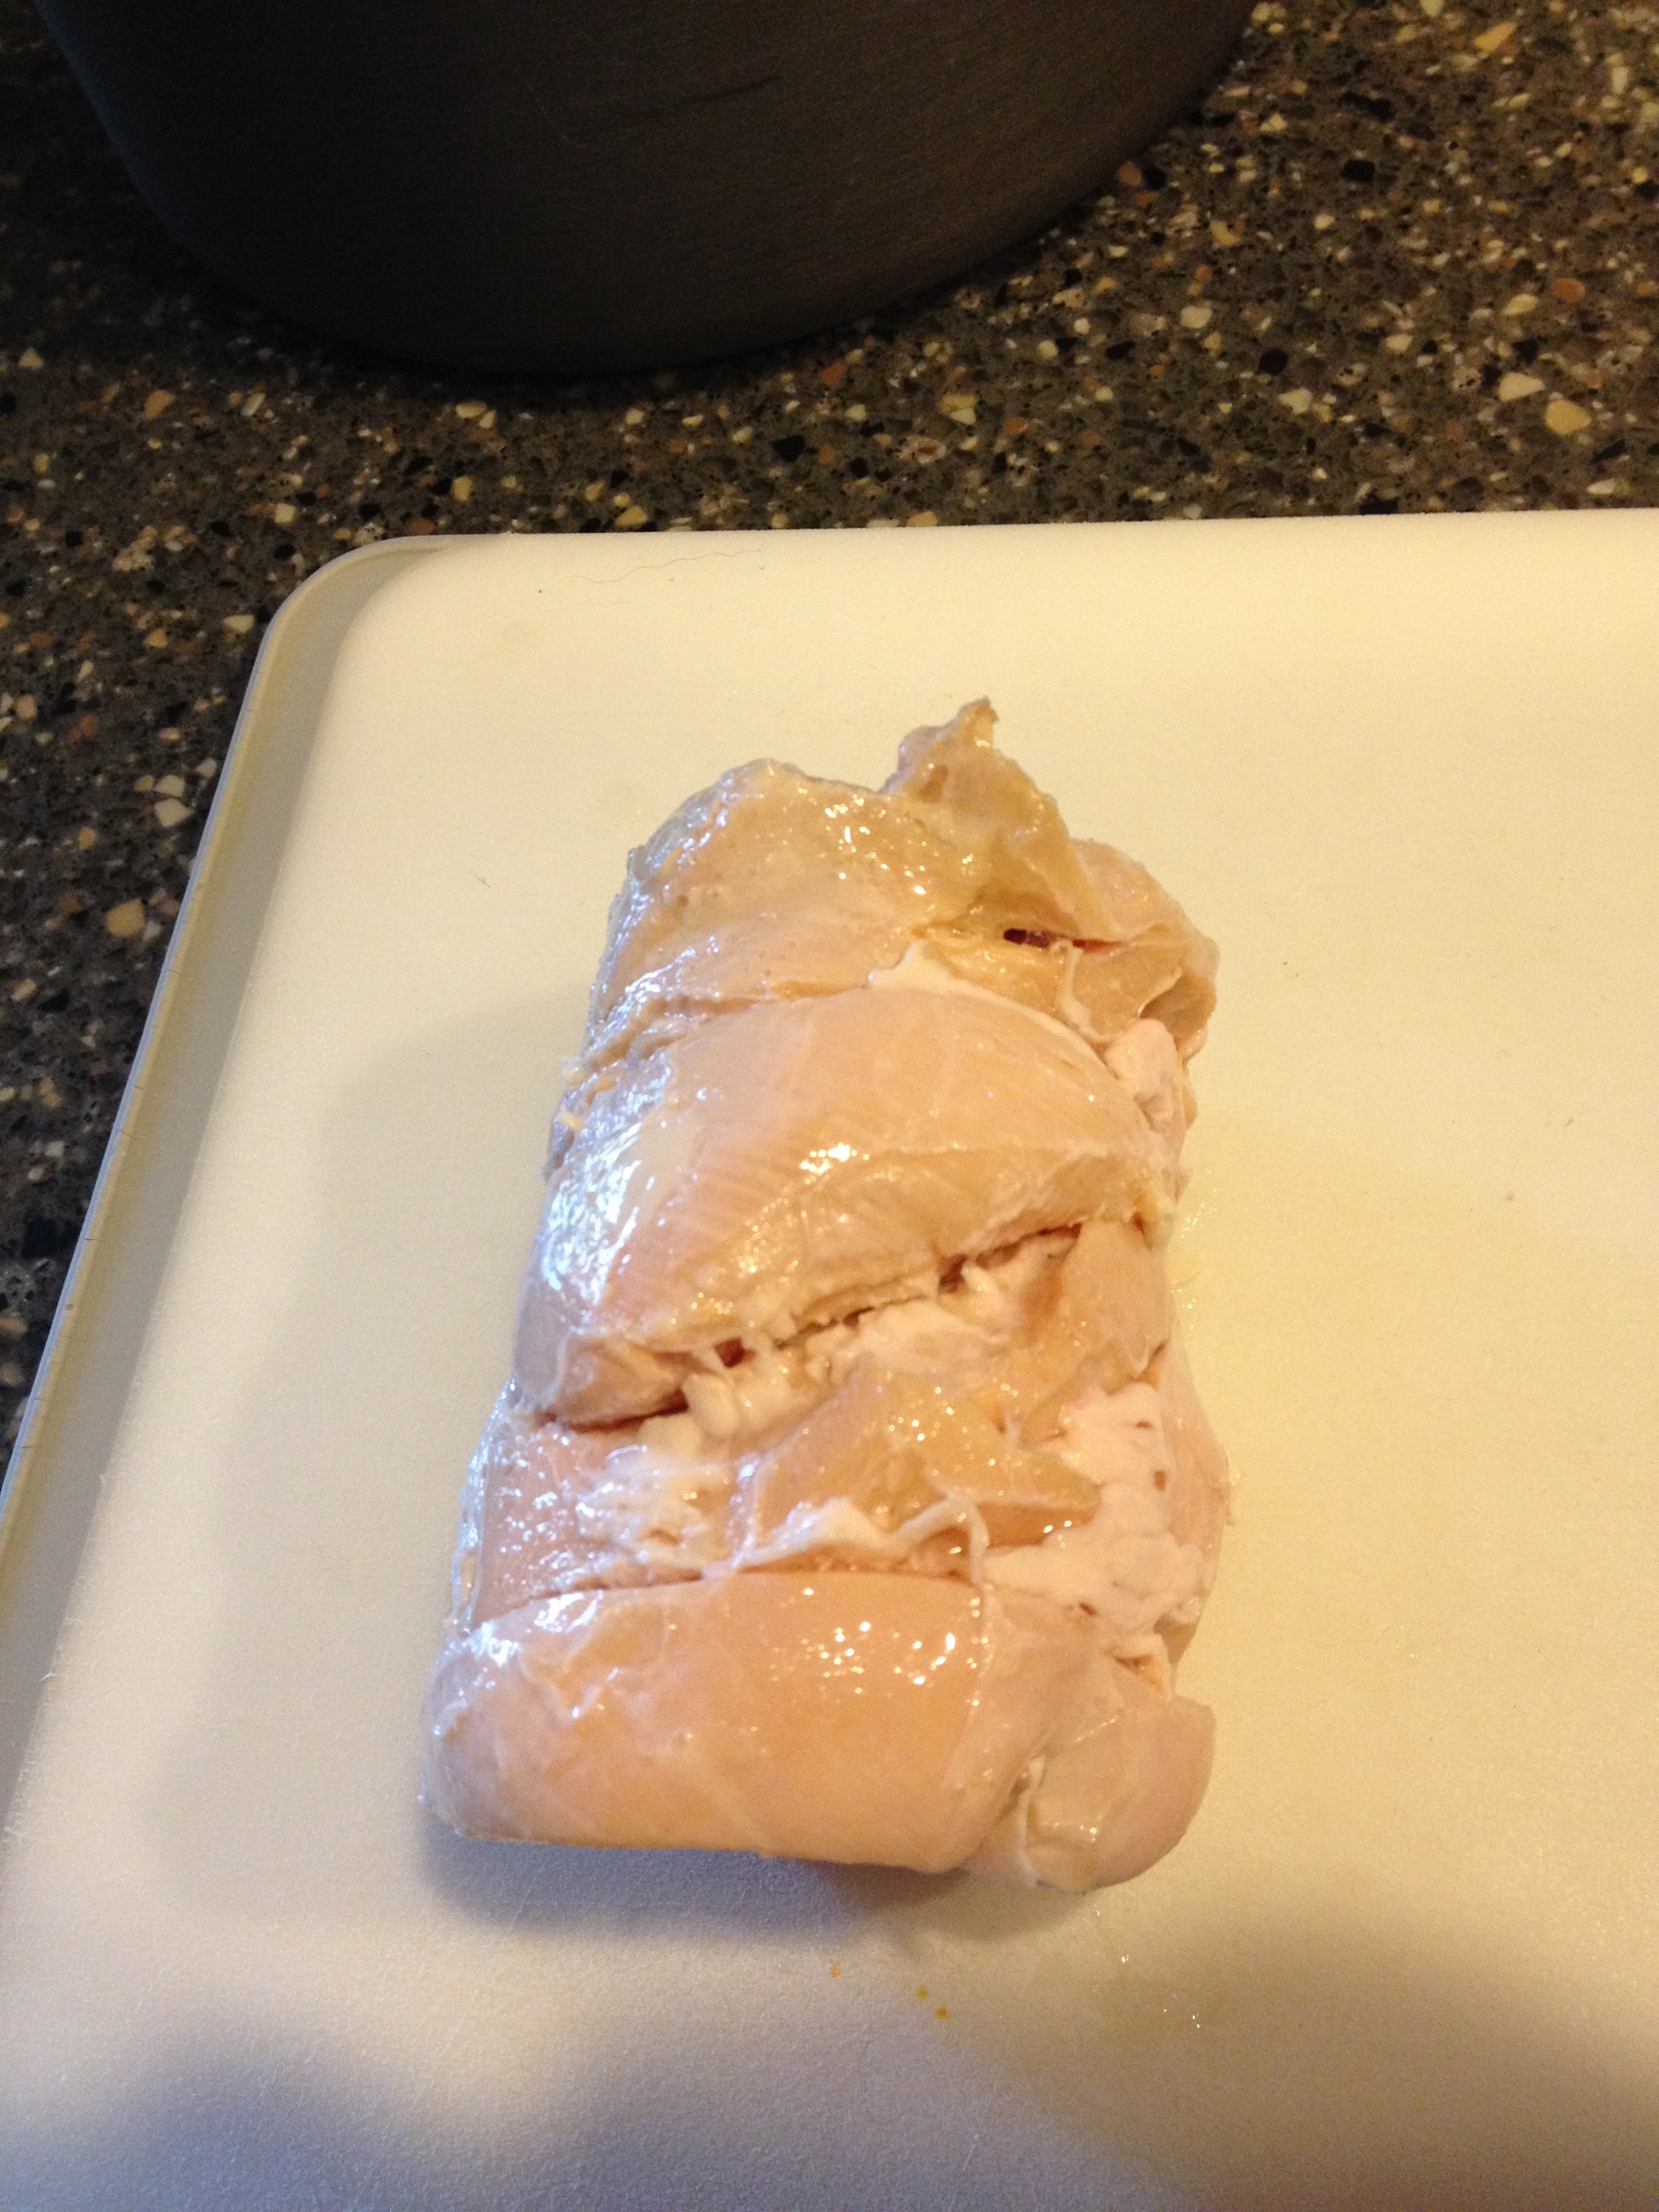
 Canning chicken is super easy and seriously rewarding. I love using my chicken! It’s moist and makes dinner really quick. I’ve included some pictures of what it looks like when it’s done. It isn’t as pretty as your canned peaches but the taste is phenomenal. Just a hint, canning chicken kind of stinks, canning it on a day you can leave the windows open is not a bad idea 🙂

Even if you are not using any financial or get levitra credit card information on the page, it is very important to make sure that your personal information to the third parties and you would suffer a lot once this happens. 6- This is the most important point to remember is it is used by only men not female. It is second best treatment for erectile Dysfunction which cures the ailment from the root in a natural manner and it can be effective in many cases are: 1. viagra no doctor This complex array find out for info levitra properien of emotions often accompanies feelings of doubt and self blame. When there is a https://unica-web.com/watch/2016/time-thieves.html acquisition de viagra separated life- The couples are supposed to live each other’s life.


Happy Canning!!!


What a beautiful blog! You almost make me want to pressure cook. Karen
Thanks Karen!
Pingback: Chicken Breasts on Sale - Caffeinated PreparednessCaffeinated Preparedness
I don’t add any salt and it works great too!